Entering the cave!

Teaser from previous session (27.09.2018)

Some of the stuff used in this product, can be found here:

https://www.grimfield.no/product-category/hobby/diverse-materiell/

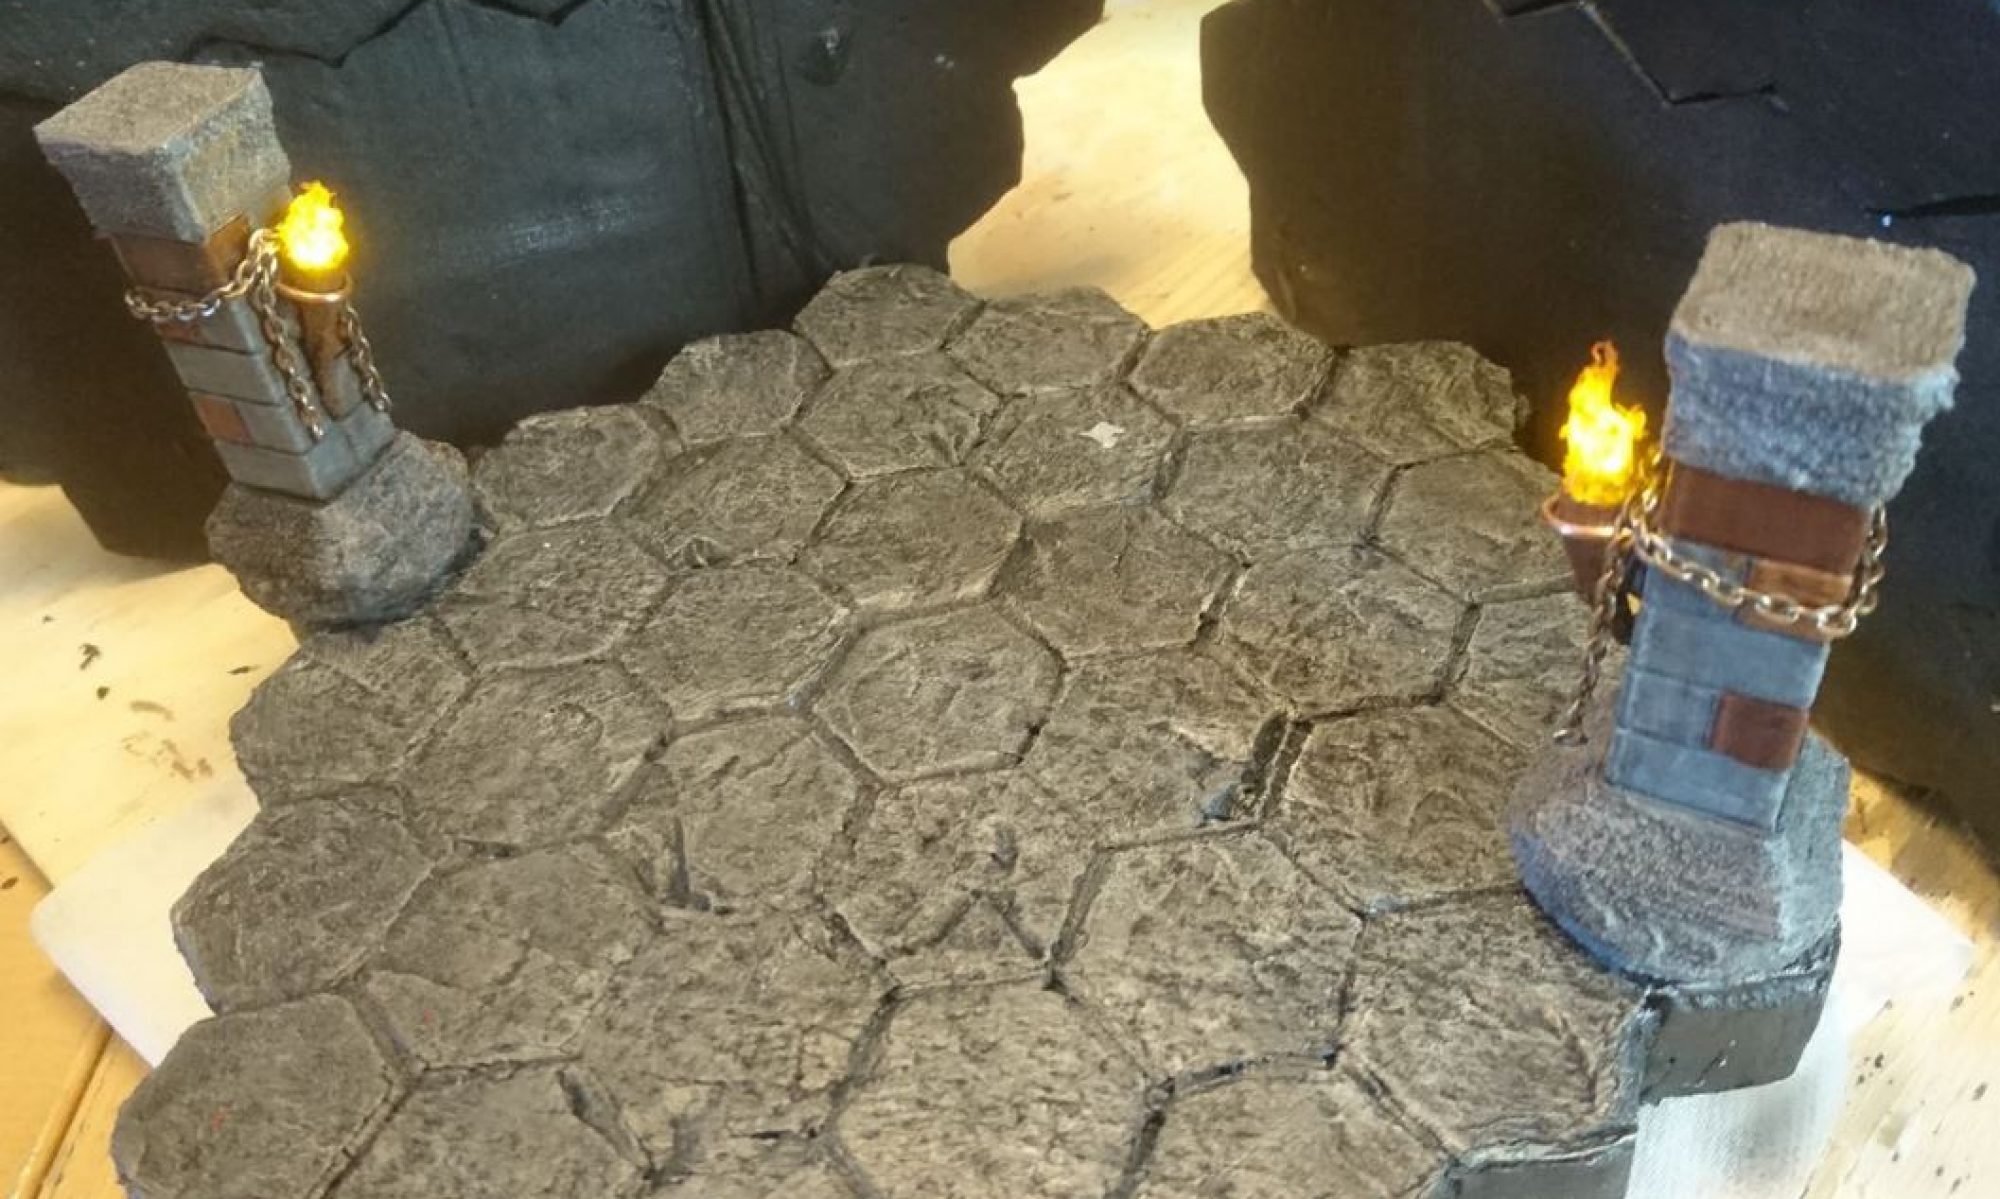
Testing to see if the entire cave can fit into 1 PVA-foam excercise mat.

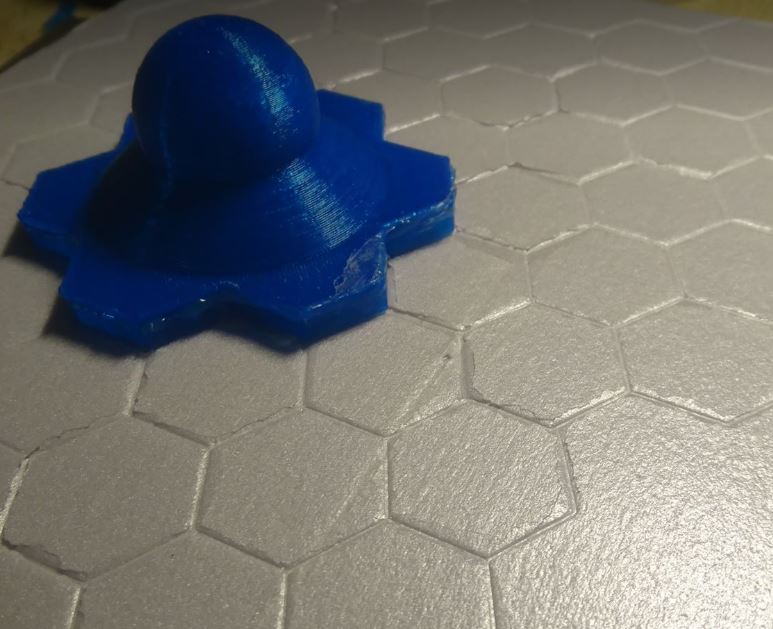
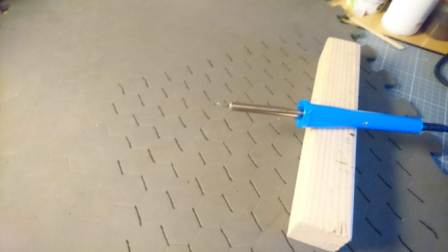
3D-printed stamp, hexing it out!

Soldering iron to make proper groves

…an unknown amount of time later:
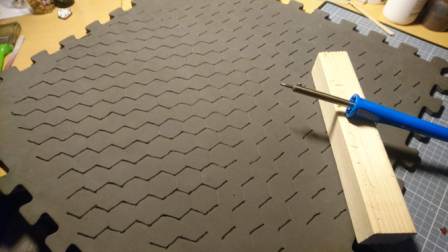
Good enough…

Rending drake is 3D-printed from this file by RobagoN:
https://www.thingiverse.com/thing:3063109

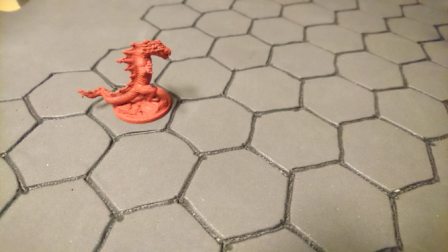
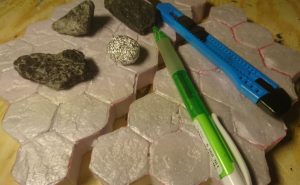
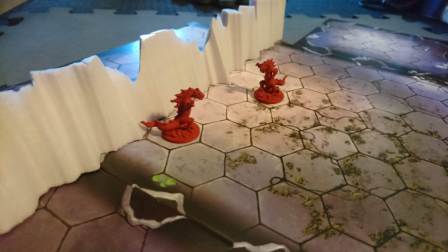
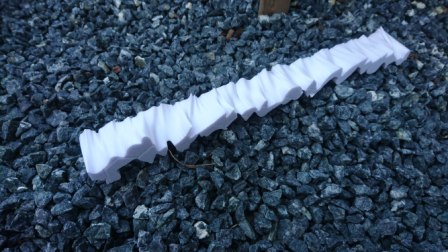
After a rough treatment outside in the gravel, it looks the part!

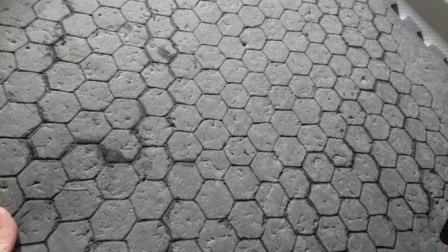
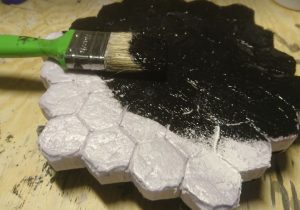
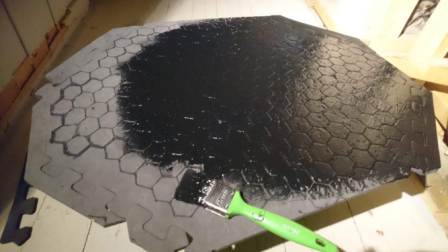
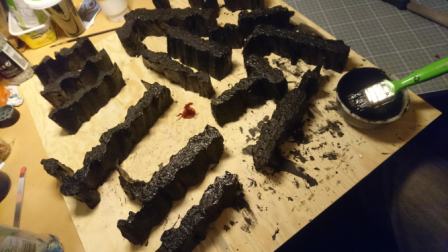
Bring on the blackness!


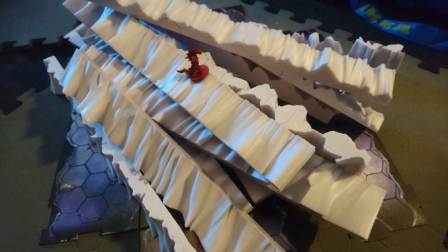
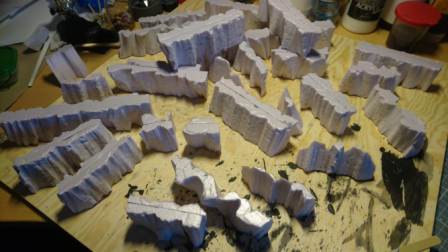
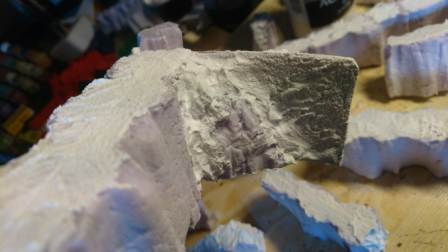
Moving on to the cave walls. Cutting 5 x 5 cm strips of XPS foam

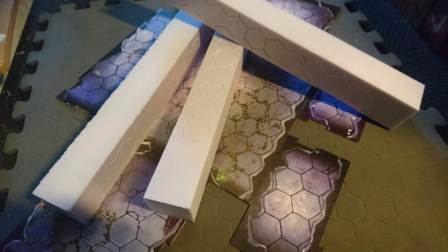
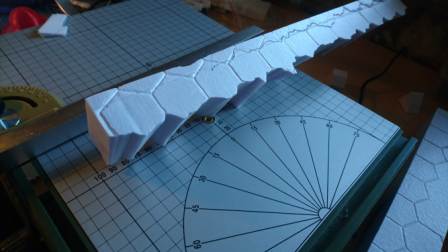
freestyling some curvy lines and edges with the Proxxon Hotwire table.

Lil’ Drake approves of this!

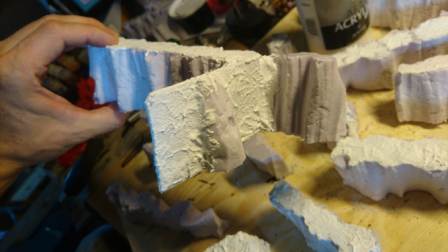
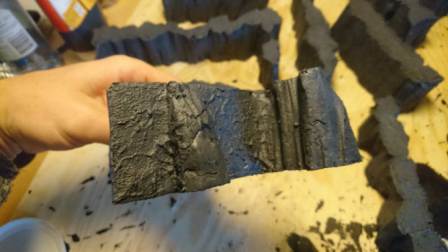
Giving them the same rough treatment as the cave floor PVA foam mat

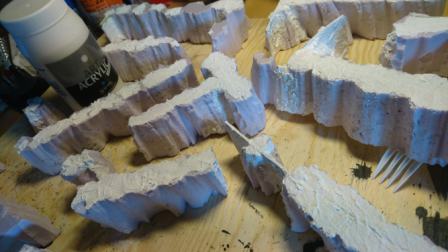
Decided to glue some of the walls together to make them wider, and also create some corners. Added a few flat wall sections with cardboard etc.

Testing, testing…

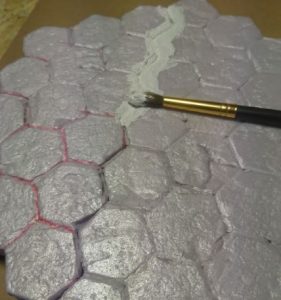
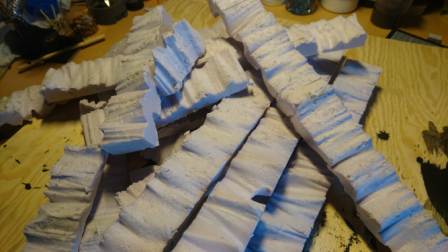
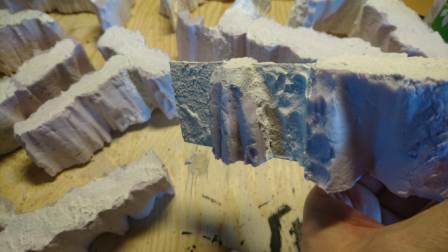
Adding texture where needed, filling in the gaps here and there with some acrylic texture stuff:

Art Acrylic Struktur 500ml – 5394 Fin

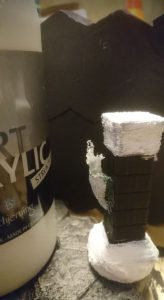
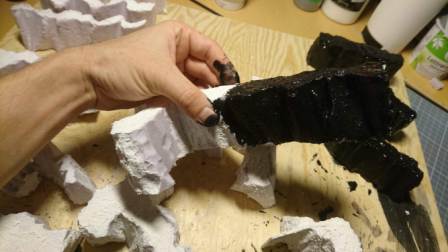
Black “mod podging” it up!

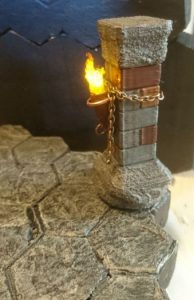
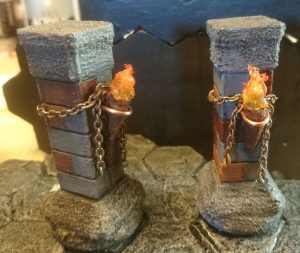
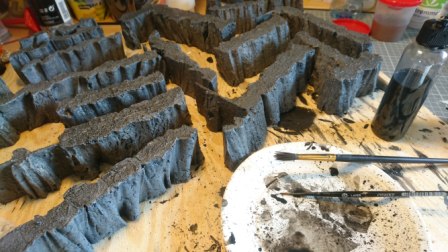
Adding some shades of gray and a bit of tan/red/brown here and there.

Black wash making it pop!

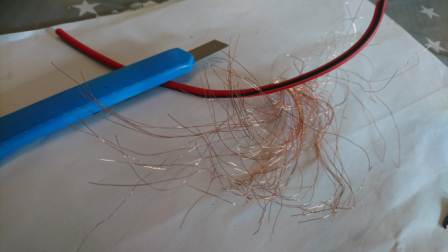
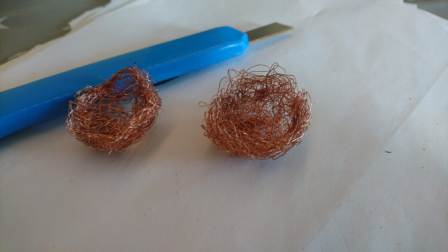
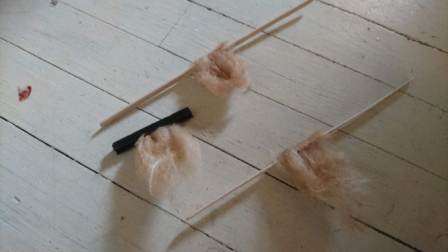
Crafting some drake nests from speaker cable. Brown matte spray + light dry brush some tan color and a touch of Agrax Earthshade wash. Glued to a simple black base.

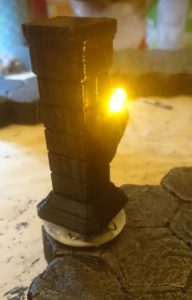
Simple “doors” or fog as it is meant to be according to the game description. Insulation patch, later spray painted gray + black.

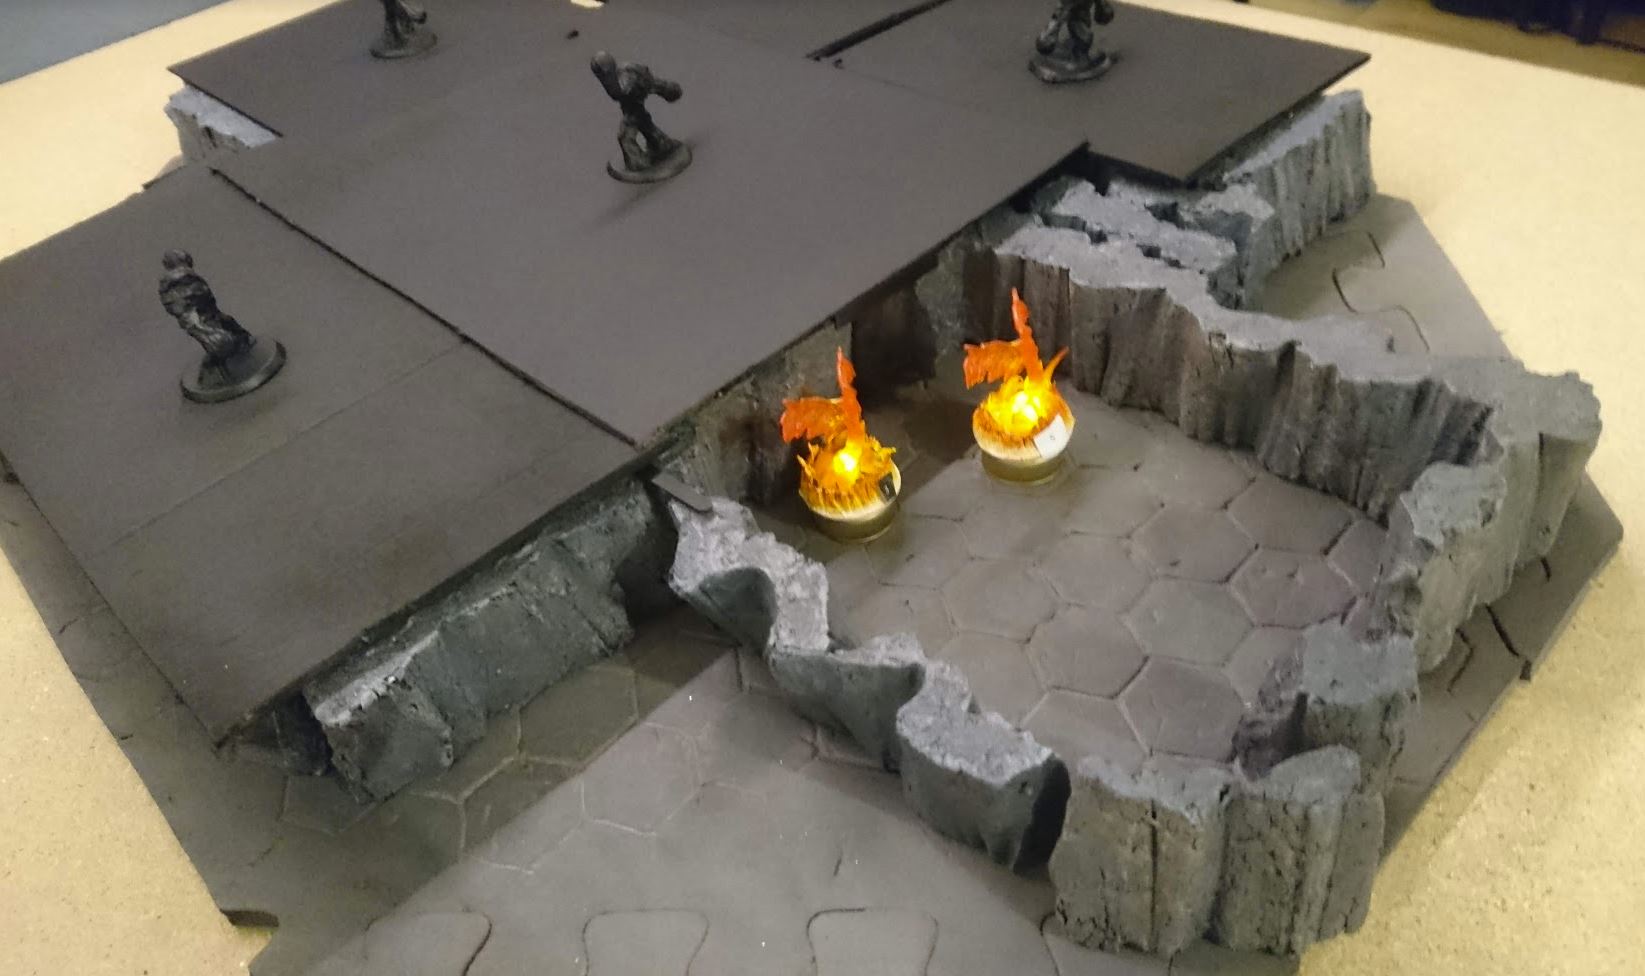
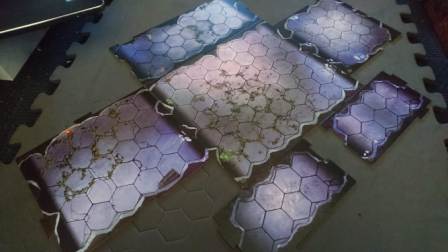
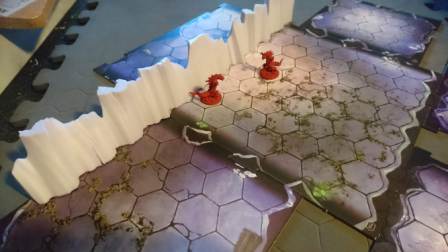
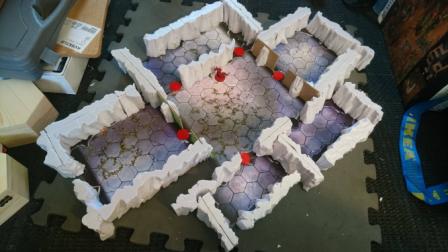
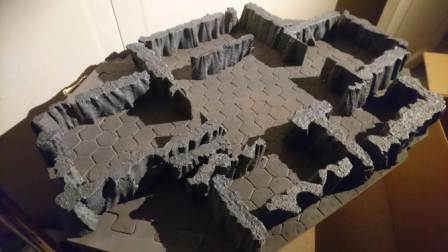
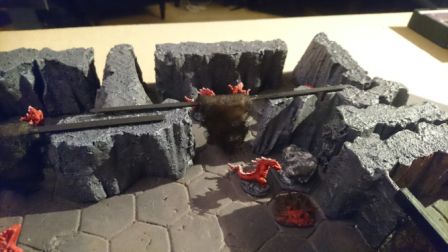
First test to see if all rooms could be assembled with the walls that are ready.

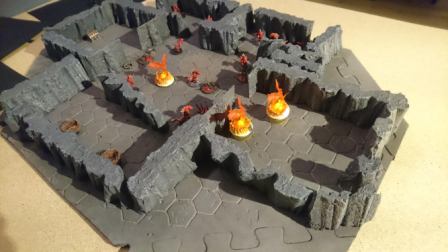
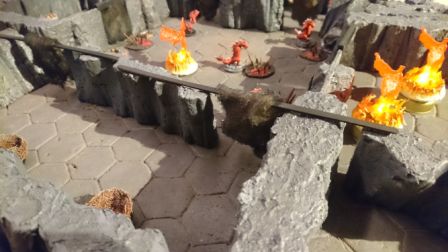
Populating the cave.. (not enough monsters to populate all rooms from the get go. Have to add monsters as we go along.

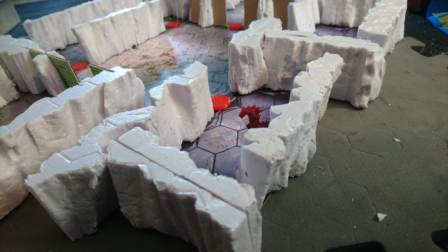
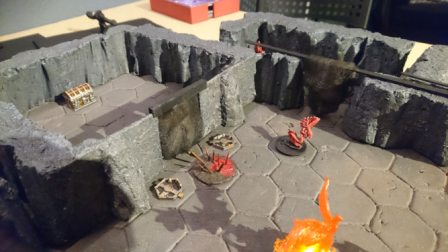
Fog “doors” and 2 nests up close

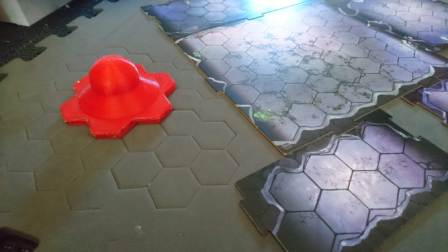
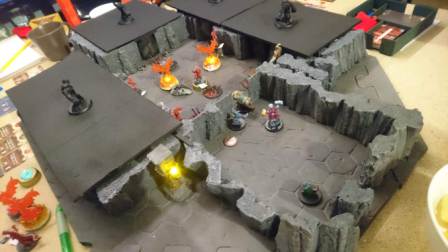
Cleared the cave entrance and moving into the first big room. Black covers for the rest of the rooms to simulate fog of war. Made out of cardboard and hot glued a mini to them, acts as handle to simplify removing of the covers.

The black coating I use as primer for my projects is a mix of these two products + regular water.

Greenspot Tempera Ready Mix – 500ml 3740 Sort

Schjerning Art Medium 500ml


Brick columns with torch

I made a stamp for hexagon grid in a simple 3D-modelling application, and printed it out, works like a charm!

2 parts, glued together with hot glue.

Tools of the trade

Glued the two tiles on cardboard to create 1 big tile.
Added some acrylic texture thingie to seal te crack but leaving a small gap to make it blend in with the other grid lines

You guessed it, BMC black “mod podge” (..or my version of it since I don’t have access to the Mod Podge brand where I live. I improvise a bit when making this goo, works well enough for my projects at least.


Forgot to take picture before installing the flickering led. Had to dismantle the light, solder some short wires from the led to the battery “box”.

Added some greenstuff to replicate a lousy torch. Hot glued the 3D-printed column to the battery box with on/off switch

Thanks to RobagoN for the .stl from thingiverse:
https://www.thingiverse.com/thing:2990524

I modified this file to make a somewhat hollow column to allow for a wire to go through it and scaled the whole column up a bit. I hope RobagoN can make a proper version of this, better suited to contain the battery box.

Forgot to take picture before this step, but I added some more hot glue to the base (really not happy with the base on this one, but I let it go due to time issues).

This step shows how I added the white acrylic texture thingie (looks and feels a lot like spackel I guess, but it is meant for artists when doing paintings with texture, I think).

Also added hot glue to imitate flames.

“chain” from a necklace, cut to length, dipped in Nuln Oil and added some rust color (brown + auric armor gold + water).
Drop of glue where the chain cross behind the torch, and just let it swing.

Also made a clamp from copper wire to imitate the thing that holds the torch to the wall. Drilled holes into the column and wedged it in there, no glue needed. I just let it be copper color. No time for extra work on this for now.

Both columns in position where they are supposed to be (for this scenario at least)


I’m fairly happy with the flames even when light is switched off.

The bricks on this column however? Not so much 


The black coating I use as primer for my projects is a mix of these two products + regular water.

Greenspot Tempera Ready Mix – 500ml 3740 Sort

Schjerning Art Medium 500ml

Adding texture to my projects with this wonderful product (medium amount of grain) :

Also available in coarse (more grain) and smooth (no grain)

Art Acrylic Struktur 500ml – 5394 Fin